Common Mistakes to Avoid During Railing Installation: Expert Tips
Introduction
Enhancing your deck, stairs, or outdoor space with railings is a critical task. Proper railing installation ensures safety and boosts the aesthetic appeal of your property. However, many homeowners fall into common pitfalls during railing installation, leading to safety hazards, non-compliance with building codes, and compromised durability.
At American Railworks, we specialize in custom aluminum railings designed, fabricated, and installed to perfection. Unlike off-the-shelf railing kits from big-box stores, our custom solutions guarantee a flawless fit and compliance with local building codes. In this blog, we’ll explore the most common mistakes in railing installation and how to avoid them, highlighting why professional installation is the ideal choice.

Why Proper Railing Installation Matters
Ensuring Safety: Poorly installed railings fail to prevent falls and accidents. Following the manufacturer’s instructions is crucial to ensure that the railing system is installed correctly and safely.
Code Compliance: Building codes dictate specific standards for railing height, post spacing, and material strength.
Durability: Incorrect installation techniques can weaken railings, leading to premature wear.
Choosing custom aluminum railings means investing in safety, compliance, and longevity.
Pre-Installation Considerations
Budget and Cost Factors
Before you start your deck railing installation project, it’s crucial to establish a realistic budget that covers all potential expenses. The cost of materials, tools, and labor can vary significantly based on the type of railing you choose, the size of your deck, and the complexity of the installation.
Here are some key cost factors to consider:
Material Costs: The price of railing materials, including posts, balusters, and railings, can range from a few hundred to several thousand dollars, depending on the type and quality.
Tool Costs: Essential tools like a drill, saw, and screwdriver are necessary for the job. If you don’t already own these tools, you’ll need to factor in the cost of purchasing or renting them.
Labor Costs: Hiring a professional can ensure a flawless installation, but it comes at a price. Labor costs can range from $30 to $100 per hour, depending on the complexity of the job and your location.
Permits and Inspections: Depending on local regulations, you may need to obtain a permit and schedule inspections, which can add $50 to $200 to your budget.
By considering these factors, you can create a comprehensive budget that helps you avoid unexpected expenses and ensures a smooth installation process.
Tools and Materials Needed
To successfully install a deck railing, you’ll need a variety of tools and materials. Here’s a list of the most common items you’ll need:
Drill and Bits: A drill is essential for making pilot holes for screws. Ensure you have a variety of bits, including screwdriver and drill bits.
Saw: Whether you use a circular saw or a handheld saw, you’ll need it to cut the railing material to the correct length.
Screwdriver: A reliable screwdriver is necessary for driving screws into place.
Measuring Tape: Accurate measurements are crucial. Use a measuring tape to determine the length of the railing material and the width of the deck.
Level: Ensuring your railing is level and plumb is vital for both safety and aesthetics.
Safety Glasses: Protect your eyes from debris and other hazards during the installation process.
Railing Material: Choose the railing material that fits your budget and preferences, including posts, balusters, and railings.
Screws and Nails: Select the appropriate screws and nails for your material to ensure a secure installation.
Having the right tools and materials on hand will make the installation process smoother and more efficient.
Common Pitfalls to Avoid During Railing Installation
Incorrect Post Spacing
Proper post spacing is crucial for structural integrity, and many people fail to adhere to the recommended spacing, which can compromise safety.
Tip: Posts should generally be no more than 6 feet apart, depending on the railing system.
Skipping Code Compliance
Local building codes often require specific railing heights (usually 36–42 inches) and post spacing to ensure safety.
Tip: Always verify code requirements before installing deck or stair railings. It’s also important to note the structural capacity of posts, as this can affect the overall safety and design of the railing system.
Improper Mounting of Railing Posts
Mounting posts securely to the deck structure is essential. Weak attachment can lead to instability.
Tip: Use high-quality hardware and ensure posts are securely attached to joists. Pay special attention to corner posts, as they may require additional bracing for stability and proper sealing to prevent water damage.
Misaligned Railing Sections
Uneven or misaligned railing systems not only look unprofessional but also pose safety risks.
Tip: Double-check measurements and alignment during installation. Always follow the manufacturer’s instructions to ensure that all sections are properly aligned and securely fastened.
The Challenges of Installing Off-the-Shelf Railing Kits
While big-box store kits may seem convenient, they often lead to:
Ill-Fitting Components: Generic parts rarely fit perfectly.
Limited Design Options: Kits lack the customization needed for intricate designs or unique outdoor spaces.
Lower Durability: Vinyl railings or cable railing systems from these kits often fail to withstand outdoor elements long-term.
Key Factors to Consider for a Successful Installation
Railing Material
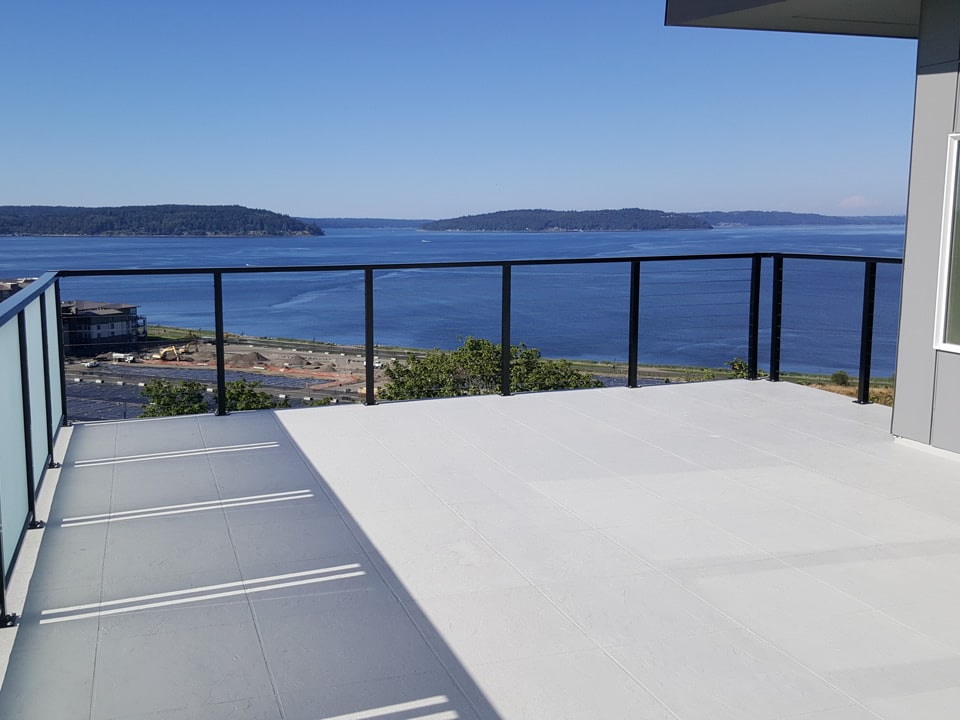
Choose durable materials like aluminum or stainless steel for outdoor applications.
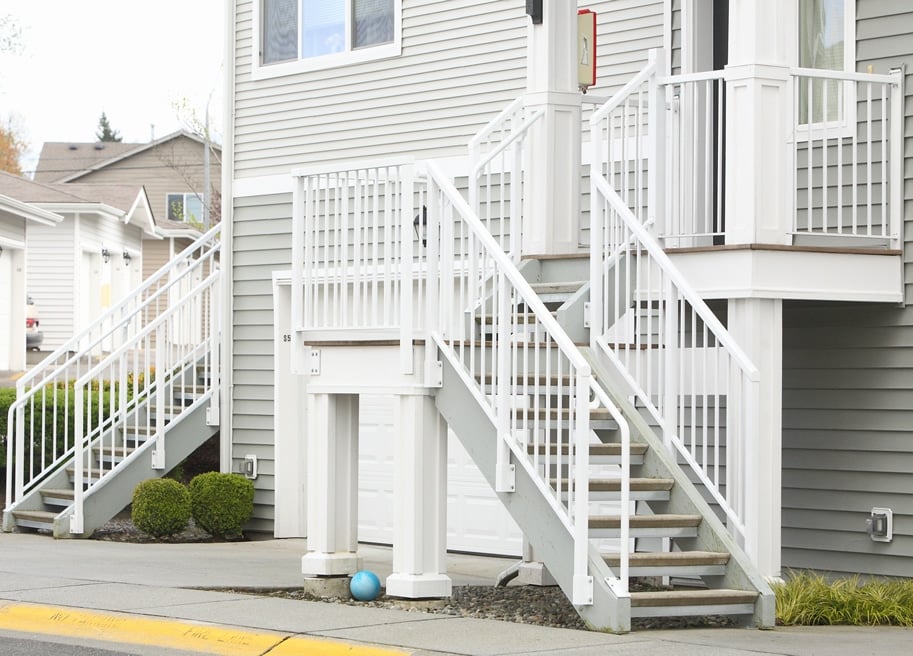
Avoid materials like wood, which require frequent maintenance and are prone to rot.
Secure Attachments: Drill Pilot Holes
Always drill pilot holes and securely attach bottom rails and top rails to posts.
Regularly inspect the railings for any signs of wear, tear, or loosening, and tighten screws as needed to maintain safety.
Use painter’s tape during drilling to prevent surface damage.
Compliance with Manufacturer’s Recommendations
Follow the manufacturer’s instructions and guidelines for railing installation to ensure warranty coverage and proper installation.

Installing Deck Railings
Bottom Rails and Top Rails
Installing the bottom rails and top rails is a critical step in the deck railing installation process. Follow these steps to ensure a secure and professional installation:
Measure the Width of the Deck: Start by measuring the width of your deck. This measurement will help you determine the correct length for your railing material.
Cut the Railing Material: Once you have your measurements, cut the railing material to the appropriate length. Use a saw to make clean cuts and sand the edges to smooth them out.
Install the Bottom Rails: Begin by installing the bottom rails, which run horizontally along the bottom of the deck. Use screws to attach the bottom rails to the deck, ensuring they are level and plumb.
Install the Top Rails: Next, install the top rails, which run horizontally along the top of the deck. Secure them with screws, making sure they are also level and plumb.
Add the Balusters: Finally, add the balusters, which are the vertical rails that run between the bottom and top rails. Use screws to attach the balusters to the deck, ensuring they are evenly spaced and securely attached.
By carefully following these steps, you can ensure that your deck railing is installed correctly and safely, providing both functionality and aesthetic appeal.
Why Choose Custom Aluminum Cable Railing System from American Railworks?
Tailored to Your Space
Our custom designs ensure a perfect fit for your deck, stairs, or outdoor space, eliminating the guesswork of off-the-shelf kits.
Built for Durability
Unlike vinyl railings, our aluminum railings are highly durable, low maintenance, and designed to withstand harsh weather conditions.
Expert Installation
Our team handles the entire process—from design to installation—ensuring code compliance, aesthetic appeal, and long-term safety.
FAQs About Railing Installation
How far apart should railing posts be? Generally, no more than 6 feet, depending on the system.
What is the average cost to install a new railing? Costs vary based on materials, labor, and design complexity. Custom aluminum railings typically offer the best value.
Is it difficult to install railings yourself? DIY installation can be challenging and prone to errors, especially with intricate designs or uneven surfaces. Professional installation is highly recommended.
The Cost of Cutting Corners
Attempting to save money with DIY or big-box store kits often results in higher costs down the line due to repairs, replacements, or accidents. Additionally, consider the costs associated with removing old railings, as this can vary based on the material and installation complexity. Investing in custom aluminum railings from American Railworks ensures peace of mind and long-term value.
Conclusion
Railing installation is more than just a functional necessity—it’s an integral part of your deck or stairway’s overall design and safety. Avoid the common mistakes and challenges associated with DIY and off-the-shelf kits by choosing professionally designed and installed custom aluminum railings.
Ready to upgrade your deck or stairs? Contact American Railworks today for a consultation, and let us help you enhance your outdoor space with safe, durable, and visually stunning railings.